If you had 60 to 120 days to get your Gramercy-Flatiron apartment market-ready, where would you start? In this photo-driven market, small visual flaws can overshadow great bones, especially in prewar co-ops and lofts. You want buyers to see light, scale, and move-in readiness the moment your listing hits their screens. In this guide, you’ll learn the highest-ROI updates that work in Gramercy-Flatiron, how to navigate co-op and condo rules, and a simple plan to get from walk-through to launch with confidence. Let’s dive in.
Why updates matter here
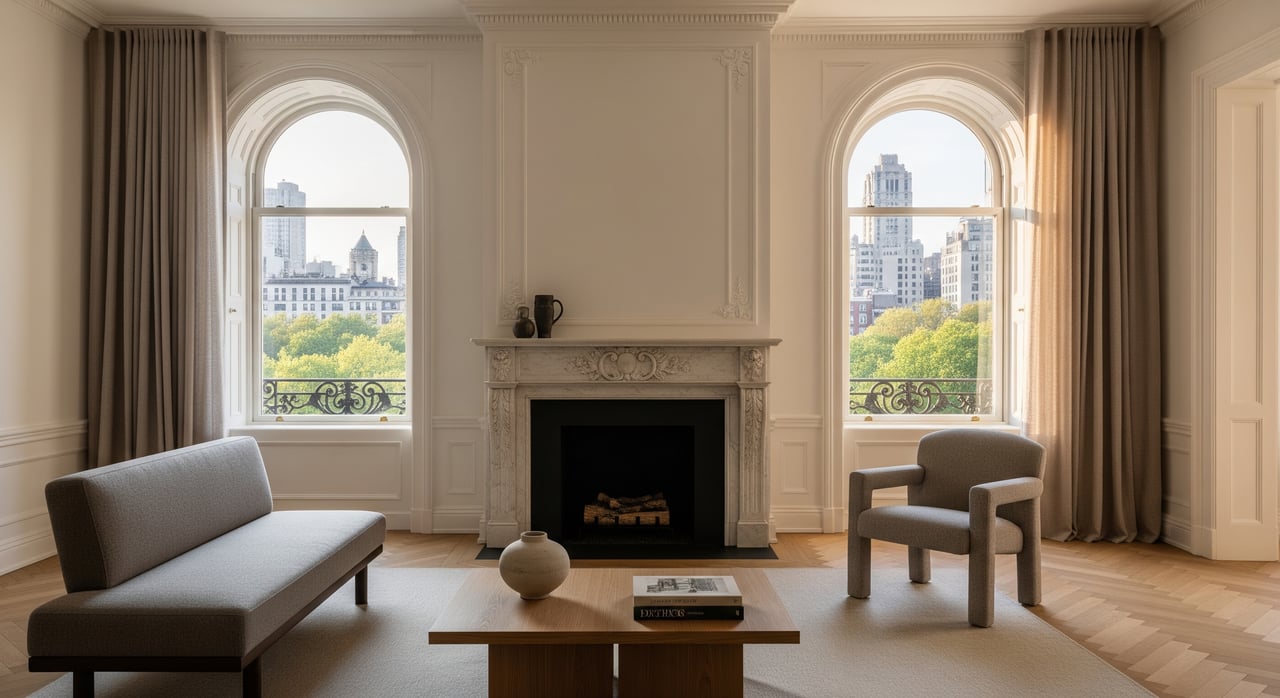
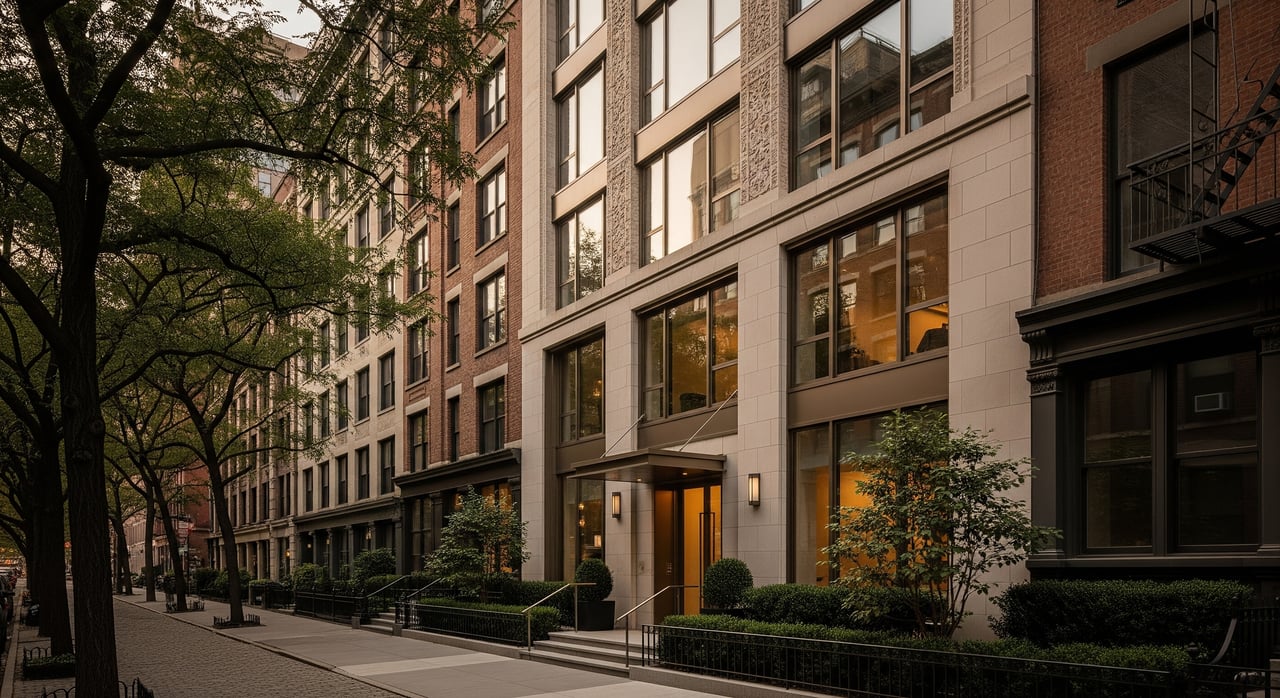
Gramercy and Flatiron offer a mix of prewar co-ops and industrial lofts. Buyers love original details like moldings, high ceilings, and built-ins, paired with modern finishes and systems. When your space looks clean, bright, and intentional, it reads as cared for and move-in ready.
Most buyers sort listings by photos first. In this market, dated lighting, faded paint, and tired hardware can reduce perceived value even when the layout is strong. Focus on quick, cosmetic updates that photograph well and respect the character of your building.
Your 60 to 120 day plan
- Days 0 to 7: Walk-through with your agent and a contractor or stager. Collect building alteration rules and note permit needs.
- Days 8 to 21: Finalize bids, submit co-op or condo applications if required, and order long-lead items like vanities or fixtures. Map your staging and photo plan.
- Days 22 to 50: Complete paint, lighting, hardware swaps, and targeted bath work. Deep clean and start staging key rooms.
- Days 50 to 70: Book professional photography for before-and-after documentation and listing images. Handle touchups.
- Days 70 to 90+: Launch marketing and align with strong showing windows and open houses.
High-ROI updates to prioritize
Paint and surfaces
A full-unit repaint in a neutral palette is the single biggest visual upgrade. Fresh walls, ceilings, and trim brighten rooms and make architectural details pop. In prewar spaces, keep tasteful contrast on moldings; in lofts, aim for even, bright walls and clean edges around exposed brick.
Repair minor plaster cracks and touch up wood or plaster features so original character looks intentional. Schedule painters early to work within elevator and protection rules.
Lighting upgrades
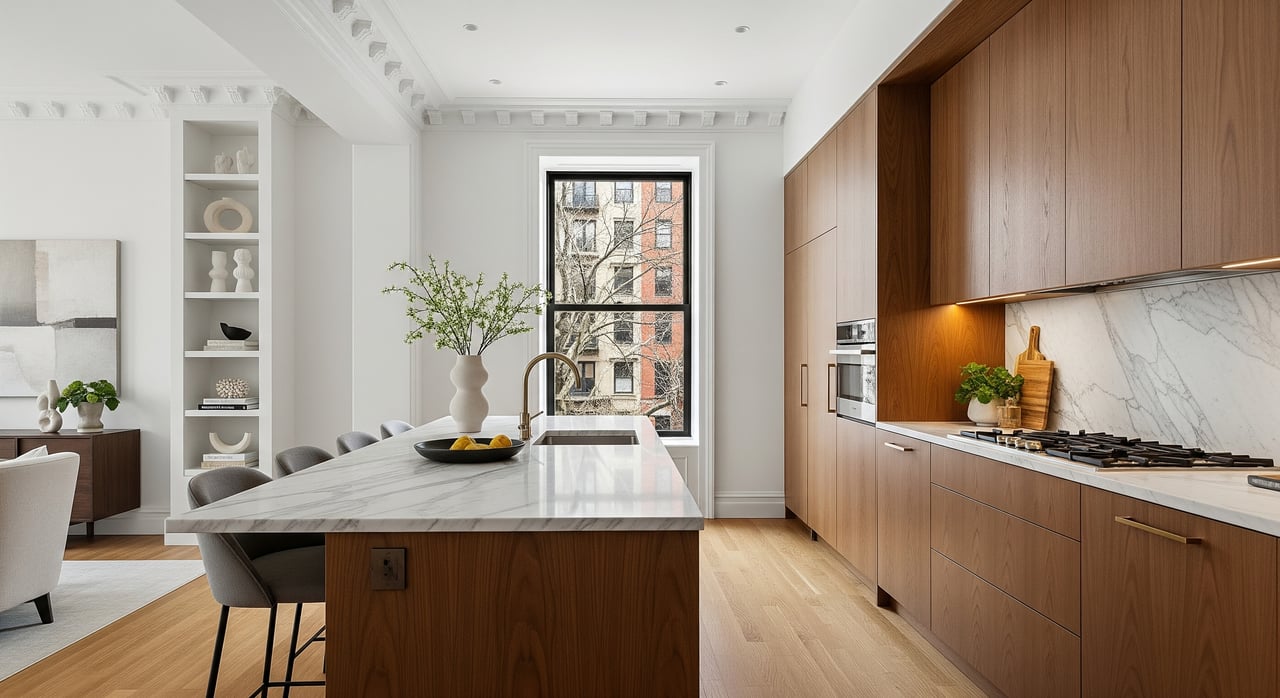
Lighting sells space in photos and in person. Replace dated ceiling fixtures and vanity lights, add a few layered sources, and use higher-CRI LED bulbs. Warm to neutral bulbs around 2700 to 3000K flatter living spaces, while brighter task lighting works in kitchens and baths.
If you are replacing fixtures without altering wiring, a licensed electrician can typically handle the swap without major permitting. Confirm your building’s notice requirements and working hours.
Hardware and finishes
Small finish changes create an immediate perception shift. Swap cabinet pulls and knobs, door hardware, outlet and switch plates, and simple bath accessories for a cohesive, quality look. Choose one or two finishes such as brushed nickel, matte black, or soft brass, and keep them consistent.
In prewar apartments, classic profiles in updated finishes feel appropriate to the era. In lofts, lean a bit more contemporary to complement industrial elements.
Bathroom mini-renovation
Targeted bath refreshes punch above their weight. Consider a new vanity or updated vanity front, a modern mirror and lighting, regrouting and recaulking, a new faucet and showerhead, and a tub refinish if the surface is worn. If the toilet looks dated, replace it with a simple, modern model.
Cosmetic swaps often avoid structural permitting, but plumbing must be completed by a licensed plumber and may trigger filings if supply or drain lines change. Allow two to six weeks depending on ordering, building notices, and scheduling.
Staging that sells
Staging helps buyers read scale, flow, and light while emphasizing ceiling height and original features. If budget is tight, stage the living room and primary bedroom first, then declutter and accessorize the rest. Virtual staging can be a strong supplement when in-person staging is not feasible.
Professional staging and high-quality photos typically reduce days on market and can improve perceived value. Keep the look clean, current, and neutral so buyers can imagine their lifestyle in the space.
Co-op, condo, and permits
Co-ops: approvals and logistics
Many co-ops require an alteration application and board approval before you start. Even for paint or small fixture swaps, you may need to notify management and use vendors with proper insurance. Expect defined working hours, elevator scheduling, and protective measures in common areas.
Starting without approval risks fines, delays, or required restoration. Review your proprietary lease and alteration guidelines early so the timeline stays on track.
Condos: policies still apply
Condos are often more flexible but still require compliance with house rules. Management may need contractor registration, certificates of insurance, and adherence to building protocols. For any work that touches common elements, expect formal approvals.
NYC permits: what needs them
Cosmetic work such as painting, swapping light fixtures without altering wiring, and replacing hardware typically does not require a Department of Buildings permit. Structural changes, relocated plumbing, significant electrical rewiring, HVAC modifications, or anything affecting egress usually do. Licensed trades should advise on scope and file when needed. Keep copies of all approvals and signoffs for buyer due diligence.
Staging and photos that convert
Plan your staging around the rooms buyers judge first: living room, primary bedroom, kitchen, and baths. Remove personal items and excess furniture to maximize perceived space and light. Edit accessories so the architecture and finishes lead the story.
For photography, use consistent white balance that complements your new paint and bulbs. Capture before-and-after images from the same angles to highlight each improvement. Include a few close-ups of details such as hardware, grout lines, and lighting to show quality and care.
Budgets, bids, and vendor selection
Interview vendors who know co-op and condo protocols. Ask for license or registration details, references, and a certificate of insurance that meets building requirements. Get a written scope, timeline, and payment schedule tied to milestones, with a clear plan for cleanup and common-area protection.
In Manhattan, building logistics can add time and cost. Allow for elevator reservations, hallway protection, superintendent coordination, and any board deposits or escrow. Avoid large upfront payments and document change orders in writing.
Quick seller checklist
- Full-unit paint in neutral tones.
- Upgrade lighting fixtures and LED bulbs.
- Replace hardware and small finishes throughout.
- Refresh bathrooms with targeted cosmetic updates.
- Stage key rooms and declutter the rest.
Risks to avoid
- Starting work before co-op or condo approvals are in place.
- Underestimating elevator scheduling and working-hour restrictions.
- Over-improving with costly renovations that buyers may not value.
- Skipping documentation that buyers may request during diligence.
Ready to tailor this plan to your apartment, building rules, and timing? Connect with Geri Grobman for design-forward, board-savvy guidance and a clear path from walkthrough to launch.
FAQs
What are the fastest, highest-ROI updates for a Gramercy-Flatiron apartment?
- Repaint in neutral tones, update light fixtures and bulbs, swap cohesive hardware, and stage key rooms for strong photos.
How should a co-op seller handle board approvals for cosmetic work?
- Review the building’s alteration rules early, submit required notices or applications, use licensed and insured vendors, and follow working-hour and elevator protocols.
Do I need permits to replace light fixtures or bathroom faucets in Manhattan?
- Cosmetic swaps often do not need permits, but licensed trades should handle the work and file if wiring is altered or plumbing lines are moved.
What is a realistic timeline to prep and list in 60 to 120 days?
- Plan one to three weeks for bids and building paperwork, two to four weeks for paint, lighting, and bath refreshes, then staging, photography, and launch.
Is full staging necessary, or will partial staging work?
- Partial staging focused on the living room and primary bedroom, plus decluttering elsewhere, delivers strong results on a tighter budget.
How do I prove the quality of pre-listing updates to buyers?
- Keep vendor licenses, permits, insurance certificates, receipts, and any final signoffs organized to share during diligence.